
업로드
기본 설정
다운로드는 간단하지만, 업로드는 조금 복잡하다.
서버의 기준점이 되는 context에서부터 파일을 올리고 내릴 수 있기 때문에, 업로드할 파일을 모아놓을 폴더를 하나 생성해야한다.
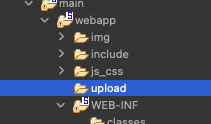
이렇게 upload폴더를 만들고, 이를 접근하기 위해서 servlet-context.xml에 리소스매핑을 해준다.
<?xml version="1.0" encoding="UTF-8"?>
<beans:beans xmlns="http://www.springframework.org/schema/mvc"
xmlns:xsi="http://www.w3.org/2001/XMLSchema-instance"
xmlns:beans="http://www.springframework.org/schema/beans"
xmlns:context="http://www.springframework.org/schema/context"
xsi:schemaLocation="http://www.springframework.org/schema/mvc https://www.springframework.org/schema/mvc/spring-mvc.xsd
http://www.springframework.org/schema/beans https://www.springframework.org/schema/beans/spring-beans.xsd
http://www.springframework.org/schema/context https://www.springframework.org/schema/context/spring-context.xsd">
<!-- DispatcherServlet Context: defines this servlet's request-processing infrastructure -->
<!-- Enables the Spring MVC @Controller programming model -->
<annotation-driven />
<!-- Handles HTTP GET requests for /resources/** by efficiently serving up static resources in the ${webappRoot}/resources directory -->
<!-- <resources mapping="/resources/**" location="/resources/" /> -->
<resources mapping="/img/**" location="/img/" />
<resources mapping="/js_css/**" location="/js_css/" />
<resources mapping="/include/**" location="/include/" />
<resources mapping="/upload/**" location="/upload/" />
<!-- Resolves views selected for rendering by @Controllers to .jsp resources in the /WEB-INF/views directory -->
<beans:bean class="org.springframework.web.servlet.view.InternalResourceViewResolver">
<beans:property name="prefix" value="/WEB-INF/views/" />
<beans:property name="suffix" value=".jsp" />
</beans:bean>
<context:component-scan base-package="com.poby.myapp" />
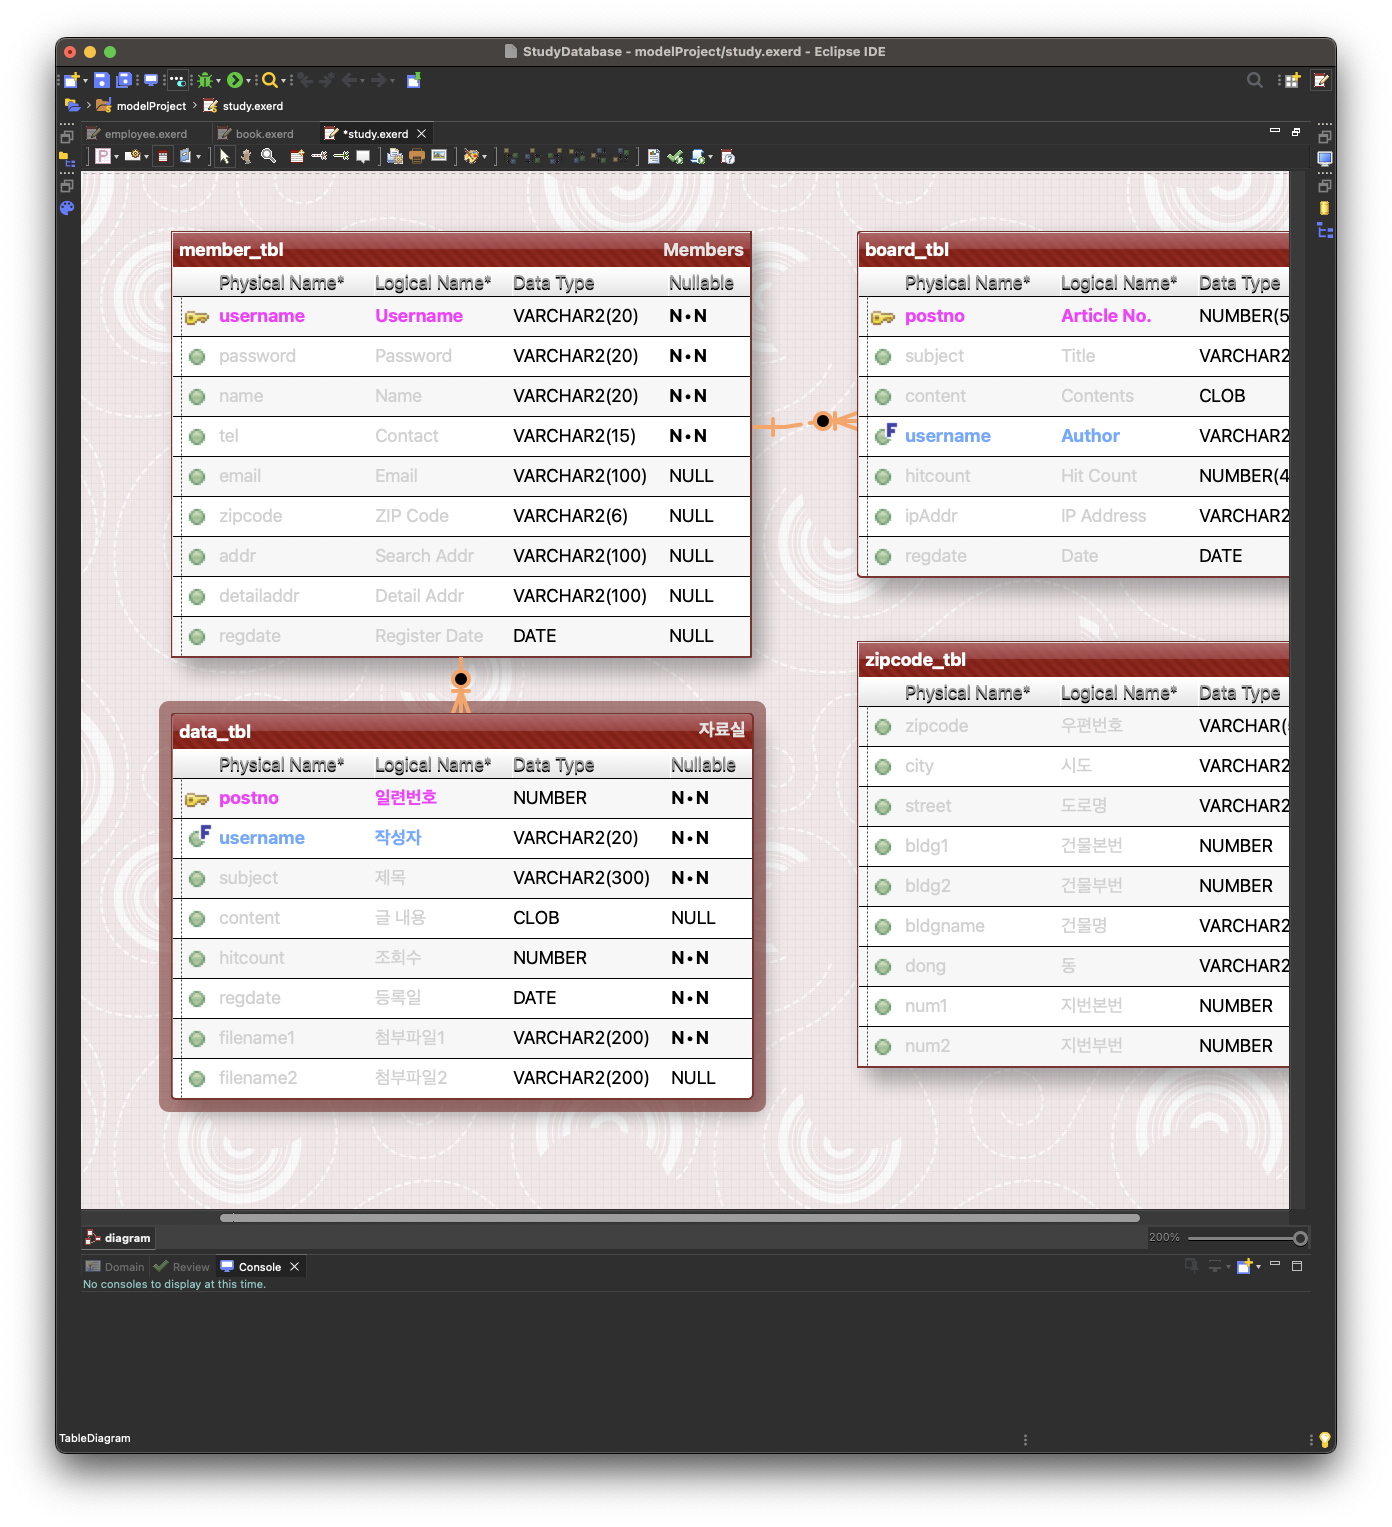
</beans:beans>업로드 파일에 관한 DB를 설계하는데, DB에 직접 파일을 등록할 순 있지만, 꺼내오는 방법이 매우 복잡하므로, 파일은 서버에 저장하고, DB에는 파일이름과 같이 파일에 대한 정보를 모아놓을 것이다.

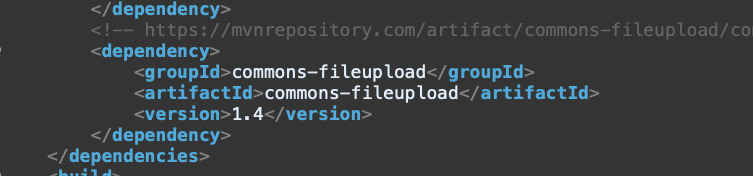
파일업로드를 하려면 새로운 라이브러리(dependency)가 필요하다. commons-fileupload라는 maven dependency를 pom.xml에 추가하고 불러오자.
https://mvnrepository.com/artifact/commons-fileupload/commons-fileupload
root-context.xml에 bean을 만들어서 파일업로드에 필요한 multipartResolver객체를 생성한다.
<!-- fileupload를 하기 위해서 multipartResolver객체를 생성해놓는다. -->
<bean id="multipartResolver" class="org.springframework.web.multipart.commons.CommonsMultipartResolver"></bean>
이전에 생성했던 SqlSessionFactory와 dataSource와 같이 정해진 이름이므로 똑같이 작성해야한다.
이제 준비설정은 끝났다.
패키지, 폴더 생성
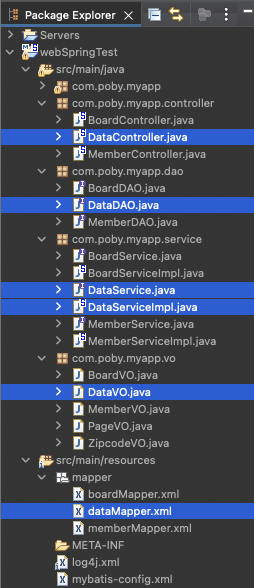
views폴더 아래에 data폴더를 생성하고, 컨트롤러, DAO, VO, Service, ServiceImpl, Mapper를 알맞은 패키지 아래에 생성하자.
DataVO에는 DB칼럼명을 선언하고 getter/setter과 toString을 설정하자.
package com.poby.myapp.vo;

public class DataVO {
	private int postno;
	private String username;
	private String subject;
	private String content;
	private int hitcount;
	private String regdate;
	private String filename1;
	private String filename2;
}
컨트롤러에는 @Autowired DataService service, ServiceImpl에는 @Inject DataDAO dao를 까먹지 말고 한다.
dataMapper.xml에는 mybatis mapper 설정을 해주고, mapper의 namespace를 지정해준다.
<?xml version="1.0" encoding="UTF-8"?>
<!DOCTYPE mapper
  PUBLIC "-//mybatis.org//DTD Mapper 3.0//EN"
  "https://mybatis.org/dtd/mybatis-3-mapper.dtd">

<mapper namespace="com.poby.myapp.dao.DataDAO">
이제 파일 업로드를 위한 모든 세팅이 끝났다.
'Spring' 카테고리의 다른 글
| 12.16.(금) Spring Framework(30): 자료실 기능(4) (0) | 2022.12.18 |
|---|---|
| 12.16.(금) Spring Framework(29): 자료실 기능(3) (0) | 2022.12.18 |
| 12.15.(목) Spring Framework(27): 자료실 기능(1) (0) | 2022.12.17 |
| 12.15.(목) Spring Framework(26): 게시판 기능(11) (0) | 2022.12.17 |
| 12.15.(목) Spring Framework(25): 게시판 기능(10) (0) | 2022.12.17 |